Table of contents
- Introduction
- Understanding Pod Security Standards (PSS)
- Implementing Pod Security Admission (PSA)
- Configuring PSA at the Cluster Level
- Implementing PSA in Production
- Real-World Examples
- Conclusion
Securing Kubernetes: Implementing Pod Security Admission (PSA) with Pod Security Standards (PSS)
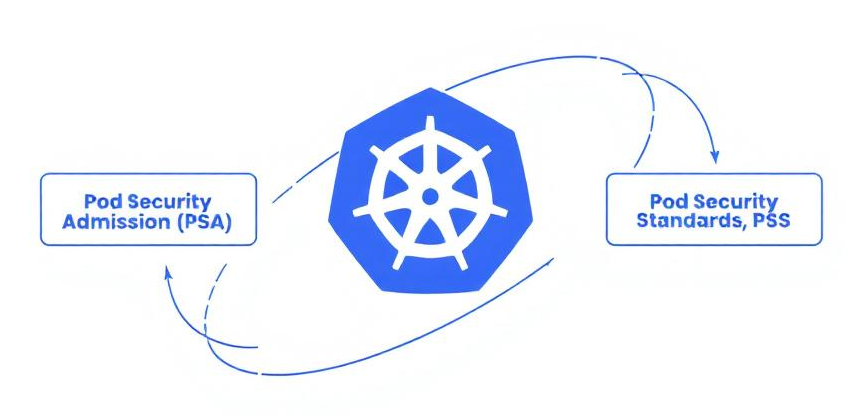
In Kubernetes version 1.31, managing pod security is achieved through the implementation of Pod Security Admission (PSA) and adherence to Pod Security Standards (PSS). These mechanisms ensure that pods comply with security best practices, enhancing the overall security posture of your cluster.
Understanding Pod Security Standards (PSS)
Kubernetes defines three primary security profiles:
- Privileged: Unrestricted policy allowing all pod configurations. Suitable for trusted workloads that require elevated privileges.
- Baseline: Minimally restrictive policy preventing known privilege escalations. Ideal for general-purpose applications adhering to standard best practices.
- Restricted: Highly restrictive policy enforcing current pod hardening practices. Intended for security-critical applications and untrusted workloads.
Each profile specifies controls for various security settings, such as privilege escalation, root user enforcement, and capabilities management.
Implementing Pod Security Admission (PSA)
PSA is an admission controller that enforces PSS by validating pod specifications during creation and updates. It operates in three modes:
- Enforce: Blocks the creation of pods that don’t comply with the specified security standards.
- Warn: Allows the creation of non-compliant pods but issues warnings.
- Audit: Records non-compliance events for auditing purposes without blocking or warning.
Configuring PSA at the Cluster Level
To apply PSS across your cluster, configure the PSA admission controller with default settings and exemptions. This involves creating an AdmissionConfiguration file and specifying the desired defaults and exemptions.
Example Configuration
Create a configuration file named psa-config.yaml:
apiVersion: apiserver.config.k8s.io/v1
kind: AdmissionConfiguration
plugins:
  - name: PodSecurity
    configuration:
      apiVersion: pod-security.admission.config.k8s.io/v1
      kind: PodSecurityConfiguration
      defaults:
        enforce: "baseline"
        enforce-version: "latest"
        audit: "restricted"
        audit-version: "latest"
        warn: "restricted"
        warn-version: "latest"
      exemptions:
        usernames: []
        runtimeClasses: []
        namespaces: [kube-system]
Explanation
- Defaults: Sets the default enforcement level to
baselinewithrestrictedprofiles for audit and warn modes. - Exemptions: Excludes the
kube-systemnamespace from PSA enforcement to prevent interference with critical system pods.
Applying the Configuration
-
Prepare the Configuration Directory:
mkdir -p /etc/kubernetes/psa cp psa-config.yaml /etc/kubernetes/psa/ -
Modify the API Server Configuration:
Edit the Kubernetes API server configuration to include the PSA configuration file:
apiServer: extraArgs: admission-control-config-file: /etc/kubernetes/psa/psa-config.yaml extraVolumes: - name: psa-config hostPath: /etc/kubernetes/psa mountPath: /etc/kubernetes/psa readOnly: true -
Restart the API Server:
After updating the configuration, restart the API server to apply the changes.
Implementing PSA in Production
When deploying PSA in a production environment, consider the following best practices:
- Gradual Enforcement: Start with
warnandauditmodes to identify potential issues without disrupting workloads. Transition toenforcemode once compliance is verified. - Namespace-Specific Policies: Apply different security standards to namespaces based on workload requirements. For example, enforce
restrictedpolicies on sensitive namespaces while usingbaselinefor others. - Regular Auditing: Continuously monitor audit logs to detect and address non-compliant pod configurations.
- Exemptions Management: Limit exemptions to essential namespaces and service accounts to minimize security risks.
Real-World Examples
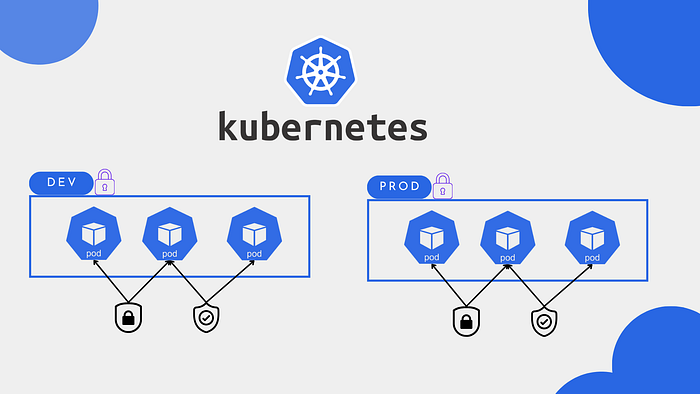
namespace-dev: Uses baseline security (allows common application deployments).namespace-prod: Uses restricted security (follows the strictest security policies).
Step 1: Create Namespaces with PSA Labels
PSA works by applying labels to namespaces to enforce the desired security standard.
# Create the dev namespace with "baseline" security
kubectl create namespace namespace-dev
kubectl label namespace namespace-dev pod-security.kubernetes.io/enforce=baseline \
    pod-security.kubernetes.io/enforce-version=latest

# Create the production namespace with "restricted" security
kubectl create namespace namespace-prod
kubectl label namespace namespace-prod pod-security.kubernetes.io/enforce=restricted \
    pod-security.kubernetes.io/enforce-version=latest
Step 2: Deploy Example Pods
Deployment in namespace-dev (Allowed)
Since the baseline profile is applied, a pod with root access can be created.
apiVersion: v1
kind: Pod
metadata:
  name: baseline-pod
  namespace: namespace-dev
spec:
  containers:
    - name: nginx
      image: nginx
      securityContext:
        runAsUser: 1000 # Allowed in "baseline"
Apply it:
kubectl apply -f baseline-pod.yaml
This pod will be created successfully because the baseline profile allows it.
Deployment in namespace-prod (Blocked)
The restricted profile blocks privileged access, so a pod running as root will fail.
apiVersion: v1
kind: Pod
metadata:
  name: restricted-pod
  namespace: namespace-prod
spec:
  containers:
    - name: nginx
      image: nginx
      securityContext:
        runAsUser: 0 # NOT ALLOWED in "restricted"
Apply it:
kubectl apply -f restricted-pod.yaml
This pod will be rejected due to the restricted policy.
Step 3: Fixing Security Issues in namespace-prod
To ensure the pod follows the restricted policy, modify the securityContext:
apiVersion: v1
kind: Pod
metadata:
  name: restricted-pod
  namespace: namespace-prod
spec:
  containers:
    - name: nginx
      image: nginx
      securityContext:
        runAsNonRoot: true # Enforces non-root user
        seccompProfile:
          type: RuntimeDefault # Uses secure seccomp profile
        capabilities:
          drop: ["ALL"] # Drops unnecessary Linux capabilities
Apply the fixed pod:
kubectl apply -f restricted-pod.yaml
This pod will now be allowed because it complies with restricted security policies.
Conclusion
Implementing Pod Security Admission (PSA) and Pod Security Standards (PSS) in Kubernetes 1.31 is a crucial step in securing your workloads while maintaining flexibility across different environments. By applying namespace-based security policies, you can enforce the right level of restrictions based on the sensitivity of your applications.
In this guide, we demonstrated how to:
✅ Set up PSA with different security levels for development (baseline) and production (restricted) namespaces.
✅ Deploy and troubleshoot pods that comply (or fail) with PSS guidelines.
✅ Ensure secure best practices like non-root users, seccomp profiles, and dropped Linux capabilities.
By gradually enforcing these policies—starting with warn and audit modes before moving to enforce—you can improve security without disrupting existing workloads.
Final Takeaway: Security should never be an afterthought in Kubernetes. With PSA and PSS, you gain a built-in, standardized approach to prevent misconfigurations and privilege escalations, making your cluster more resilient and production-ready.